Hey everybody back again (yes I know twice in one day!!) so anyway here is how I made my very popular love coasters from the magnolia 2013 collection!!!
To make these you will need:
A pack of undecorated MDF coasters.
A selection of your chosen magnolia stamps.
Watercolour paper.
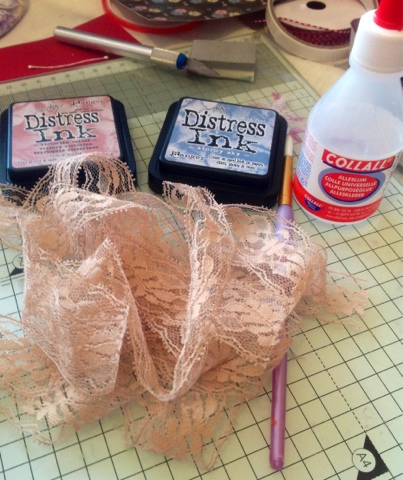
A selection of Tim holtz distress ink pads.
Some vintage looking lace.
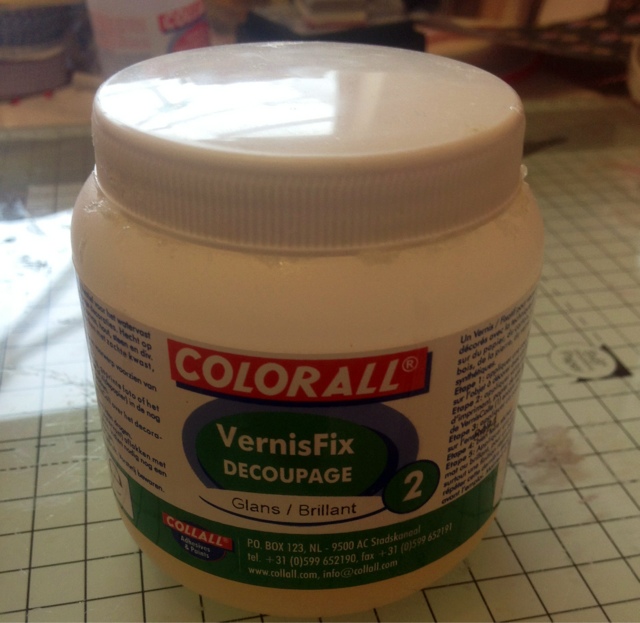
Collal decoupage varnish.
Collal glue.
Sanding block.
sheets of 12x12 vintage style papers.
Cut and dry foam.
To start making these gorgeous coasters I drew around each coaster onto my papers with a pencil (I used Melissa Francis papers and picked exactly which part of the paper I wanted to see on the coaster).
I then cut each circle out with scissors and mounted them using collal glue onto my MDF coaster , then leave them to dry for approx 2 hours, after which time you can use a craft knife and trim the edges of the paper round the coaster.
Using your sanding block distress the edges of the paper, use vintage photo and a piece of cut and dry foam and ink the edges of each coaster.
Place a piece of lace over the top of your coaster (I placed mine in the middle) and use your collal decoupage varnish to bind the lace to the coaster. You can coat the whole coaster with the varnish but make sure you place plenty over the edges of the lace.
While these are drying you can start and stamp your images onto your watercolour card and colour them with tim holtz ink. I then cut them out and used Martha Stewart glitter and glittered them in places.
When the coasters and the images are dried you can again use vintage photo to distress the edges of each image.
Now you are ready to mount the images onto each coaster, you do this by using your collal glue and placing them as desired on each coaster, again leave to dry.
When the glue has dried you can now Varnish the rest of the coaster with your collal decoupage varnish. Make sure as you are doing this you pay close attention to the edges of each image make sure you get plenty of varnish around the edges as it will bind the image to the coaster and ensure that the coasters are waterproof!!! I coated mine 3 times with the varnish to make sure the images were binded properly.
Please note the ink from the images and the distressing will move around when you are varnishing them, for this reason I washed my brush several times to ensure the minimum amount of ink was transferred!!!
I hope this helps everyone, and I will do a you tube video as promised but I am going away for. Week on Sunday so it will have to be when I return!!! If you have any questions please ask and I will try and help you xxx
Pages
Popular Posts
-
I have been outta action for a few days as my ipad had a terrible accident (with a little help from Annie!!!) anyway it's all fixed and ...
-
Hey everybody back again (yes I know twice in one day!!) so anyway here is how I made my very popular love coasters from the magnolia 2013 c...
-
Well, I have just braved setting up a blog! It's going ok so far. I will hopefully use this to share with you all my craft creations!!! ...
-
Just a quick not to share with you all some of the new magnolia stamps that have just been released, I received them this week from the mag...
-
Happy valentines!!! Seeing as it is valentines I thought I would share with you some great news!!! I have been accepted on to a new design t...
-
Hello!!!!! I hope you all like the pick of the week!!! as I said yesterday I was lucky enough to have been given the chance to play with...
-
My first sepia card!! probably not the best picture ever taken ( I myself was quite impressed with the card) it doesnt seem to pick up all ...
-
Nearly another week gone by... And I can confirm that I have made 4 cards this week- rather well done I think as I have also got a busy eBay...
-
Morning all!! I thought I would share with you this morning one of the mothers day cards I created this year. I started by colouring in my ...
-
Nearly another week gone by... And I can confirm that I have made 4 cards this week- rather well done I think as I have also got a busy eBay...


This comment has been removed by the author.
ReplyDeleteThank you so much for the tutorial. I have a question though.. as the varnish is waterbased is it waterproof when dry? So if there's a liquid spilled on the coaster it doesn't dissolve?
ReplyDeleteHi,
DeleteSo sorry for the delay I have been away on holiday and not been able to reply. The varnish is waterproof so they will be fine with spillages etc.
Hi Phoebe, that's allright love. I couldn't find the collal varnish in the Netherlands but hopefully a good substitute. It's still drying but I did found some dark/wet spots :(
ReplyDeleteThey're up on my blog. http://roviannedesigns.blogspot.com
Oh no :( that's such a shame xxx maybe it will dry ok. I hope so xxx they are looking good xxxx
ReplyDelete